
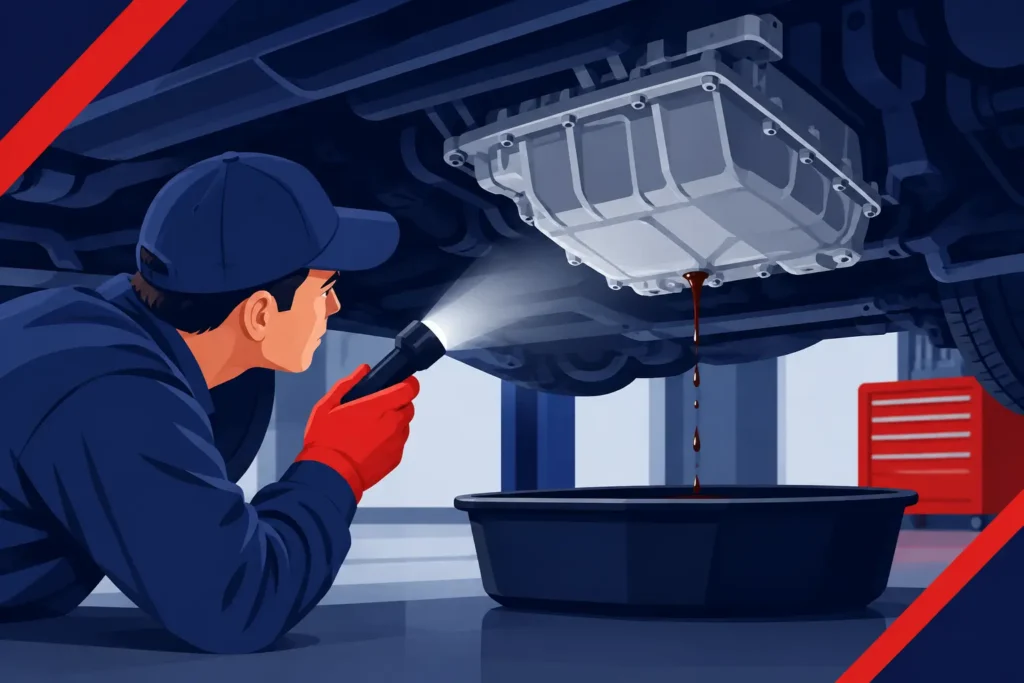
A few drops beneath your vehicle can be easy to dismiss, especially if it still shifts normally. But transmission fluid is both a lubricant and a hydraulic working fluid. Let a leak continue, and a small seal or line problem can become harsh shifting, overheating, internal damage, and a repair that costs far more than the original issue. Knowing how to inspect transmission leaks gives you a better starting point, but it also helps you recognize when the right next step is a professional diagnosis.
Start With a Safe, Clean Inspection Area
Park on a flat, dry surface and allow the vehicle to cool if you have just driven it. A clean piece of cardboard placed under the car overnight is one of the simplest ways to confirm whether it is actively leaking and where the drip is landing. Record the location before moving the car.
Do not crawl underneath a vehicle supported only by a jack. If you need a closer look, use properly rated jack stands on solid, level ground, or keep the inspection to areas you can see safely from the side and top of the engine bay. Transmission fluid can also be hot enough to burn after a drive, so patience is part of a proper inspection.
Before searching for the source, wipe away any old fluid and road grime from accessible areas with shop towels. A dirty undercarriage can make one small leak look like several major ones. Fresh fluid trails are more useful than old residue.
How to Inspect Transmission Leaks Step by Step
Start at the highest visible point where transmission fluid might be present, then work downward. Fluid follows gravity and airflow, so the wet spot at the bottom of the vehicle is often not the actual source.
With the engine off, inspect around the transmission housing, transmission pan, cooler lines, axle areas, and the area where the transmission meets the engine. Look for fresh wetness, drips forming at a seam, or fluid collecting on bolts, crossmembers, shields, and exhaust components.
Next, check the ground pattern. A leak near the center of the vehicle may point toward the transmission pan, drain plug, case connector, or cooler lines. Fluid appearing farther forward could be coming from transmission cooler lines or a radiator-mounted cooler. A leak near an axle may involve an axle seal, though engine oil, grease, and other fluids can collect in the same general area.
If the vehicle has a transmission dipstick, follow the manufacturer’s fluid-check procedure exactly. Some vehicles must be at operating temperature, running, in Park, and checked after moving the shifter through each gear. Others have no dipstick at all and require a specific fill-level procedure, fluid temperature range, and diagnostic equipment. This is common on many European, luxury, and late-model vehicles.
A low fluid level supports the possibility of a leak, but it does not identify the source. Overfilling can create problems too, so avoid adding fluid simply because you see a spot on the driveway. The wrong fluid, wrong level, or improper checking process can affect shift quality and transmission life.
Identify the Fluid Before Assuming It Is Transmission Fluid
Automatic transmission fluid is often red, reddish-brown, amber, or dark brown, depending on its age and the vehicle’s specified fluid. It usually feels slick and has a distinct petroleum odor. However, color alone is not reliable. Modern transmission fluids vary widely, and older fluid can lose its original color.
Engine oil is generally amber to dark brown or black. Coolant may be green, orange, pink, yellow, or blue and feels more watery. Brake fluid is usually clear to light amber, while power steering fluid can resemble transmission fluid on some vehicles. Differential and gear oil may smell sharply sulfur-like.
The location matters as much as the color. On an all-wheel-drive European vehicle, for example, fluid near the front or rear differential, transfer case, or transmission can be difficult to separate without putting the vehicle on a lift. A specialist should identify the exact fluid and system before recommending a repair.
Common Places Transmission Fluid Escapes
Transmission leaks tend to come from a limited group of components, but access and repair difficulty vary substantially by vehicle.
A transmission pan gasket or pan seal can seep around its edge, especially after age, heat cycles, or an improper previous service. A loose drain plug, damaged sealing washer, or cracked pan can produce a more obvious drip. The pan is visible on many vehicles, but that does not mean it is always the source. Fluid from higher on the case can run down and collect along the pan rail.
Transmission cooler lines and their fittings are another common source. Rubber hoses can age and crack, while metal lines may corrode or loosen at connections. On performance, luxury, and exotic vehicles, the routing can be more complex, and damaged lines may be hidden behind undertrays or cooling components.
Axle seals can leak where the axles enter the transmission or transaxle. The fluid may sling onto nearby suspension parts or the inner wheel area as the axle rotates. A front pump seal or torque converter seal can leak from the bellhousing area, where the engine and transmission join. Those repairs typically require transmission removal, which is why an accurate diagnosis matters before approving major work.
Other possible sources include electrical case connectors, selector shaft seals, transmission case seams, vent systems, and gasketed covers. A plugged or malfunctioning vent can force fluid past seals, so replacing a seal without correcting the underlying pressure issue may only delay the next leak.
Watch for Symptoms Beyond the Drip
A transmission leak deserves more urgency when it comes with a change in how the vehicle drives. Delayed engagement when shifting into Drive or Reverse, slipping under acceleration, shuddering, harsh shifts, burning smells, warning lights, or unusual whining can all indicate that fluid loss is beginning to affect operation.
Do not assume every shifting concern is caused by low fluid. Modern automatic transmissions rely on sensors, solenoids, valve bodies, software, cooling systems, and precise hydraulic pressure. A skilled technician may find that a fluid leak and a drivability concern are related, or that they are separate issues that happened at the same time.
If fluid is actively dripping, the transmission is slipping, or a warning light appears, avoid long trips and hard acceleration. Towing may be the wiser choice if the vehicle is struggling to move, has a severe leak, or shows signs of overheating. Continuing to drive can turn a repairable external leak into internal clutch damage.
When a Professional Inspection Is Worth It
Some leaks are visible and straightforward. Many are not. Underbody panels, tight engine bays, integrated transmission pans, electronically controlled units, and sealed fluid systems make guesswork expensive. This is especially true for European, exotic, and classic vehicles, where the correct fluid specification and repair procedure are not optional details.
A thorough shop inspection may include cleaning the transmission, checking fluid level and condition using the correct temperature procedure, inspecting the vehicle on a lift, and tracing the leak after a road test. When the source remains unclear, ultraviolet dye can help reveal fresh fluid paths. Diagnostic scanning can also identify transmission temperature, pressure-related faults, and stored trouble codes that a visual inspection cannot show.
At MotorSport Prime, transmission work is approached as a system diagnosis, not a quick gasket sale. That means identifying where the fluid is coming from, checking why it escaped, and explaining the repair in clear terms before work begins. It is the practical way to protect both your vehicle and your budget.
A clean cardboard test and a careful visual check can tell you when something needs attention. Once you know there is a real leak, acting early gives you the best chance of solving a small problem before it interrupts the performance and reliability you expect from your car.